
Cleaning any firearm is important if you want to keep it in top working condition and make sure it’s ready to go whenever you need it. Good cleaning practices can help your firearm last longer, work better, and even help it maintain its accuracy over time.
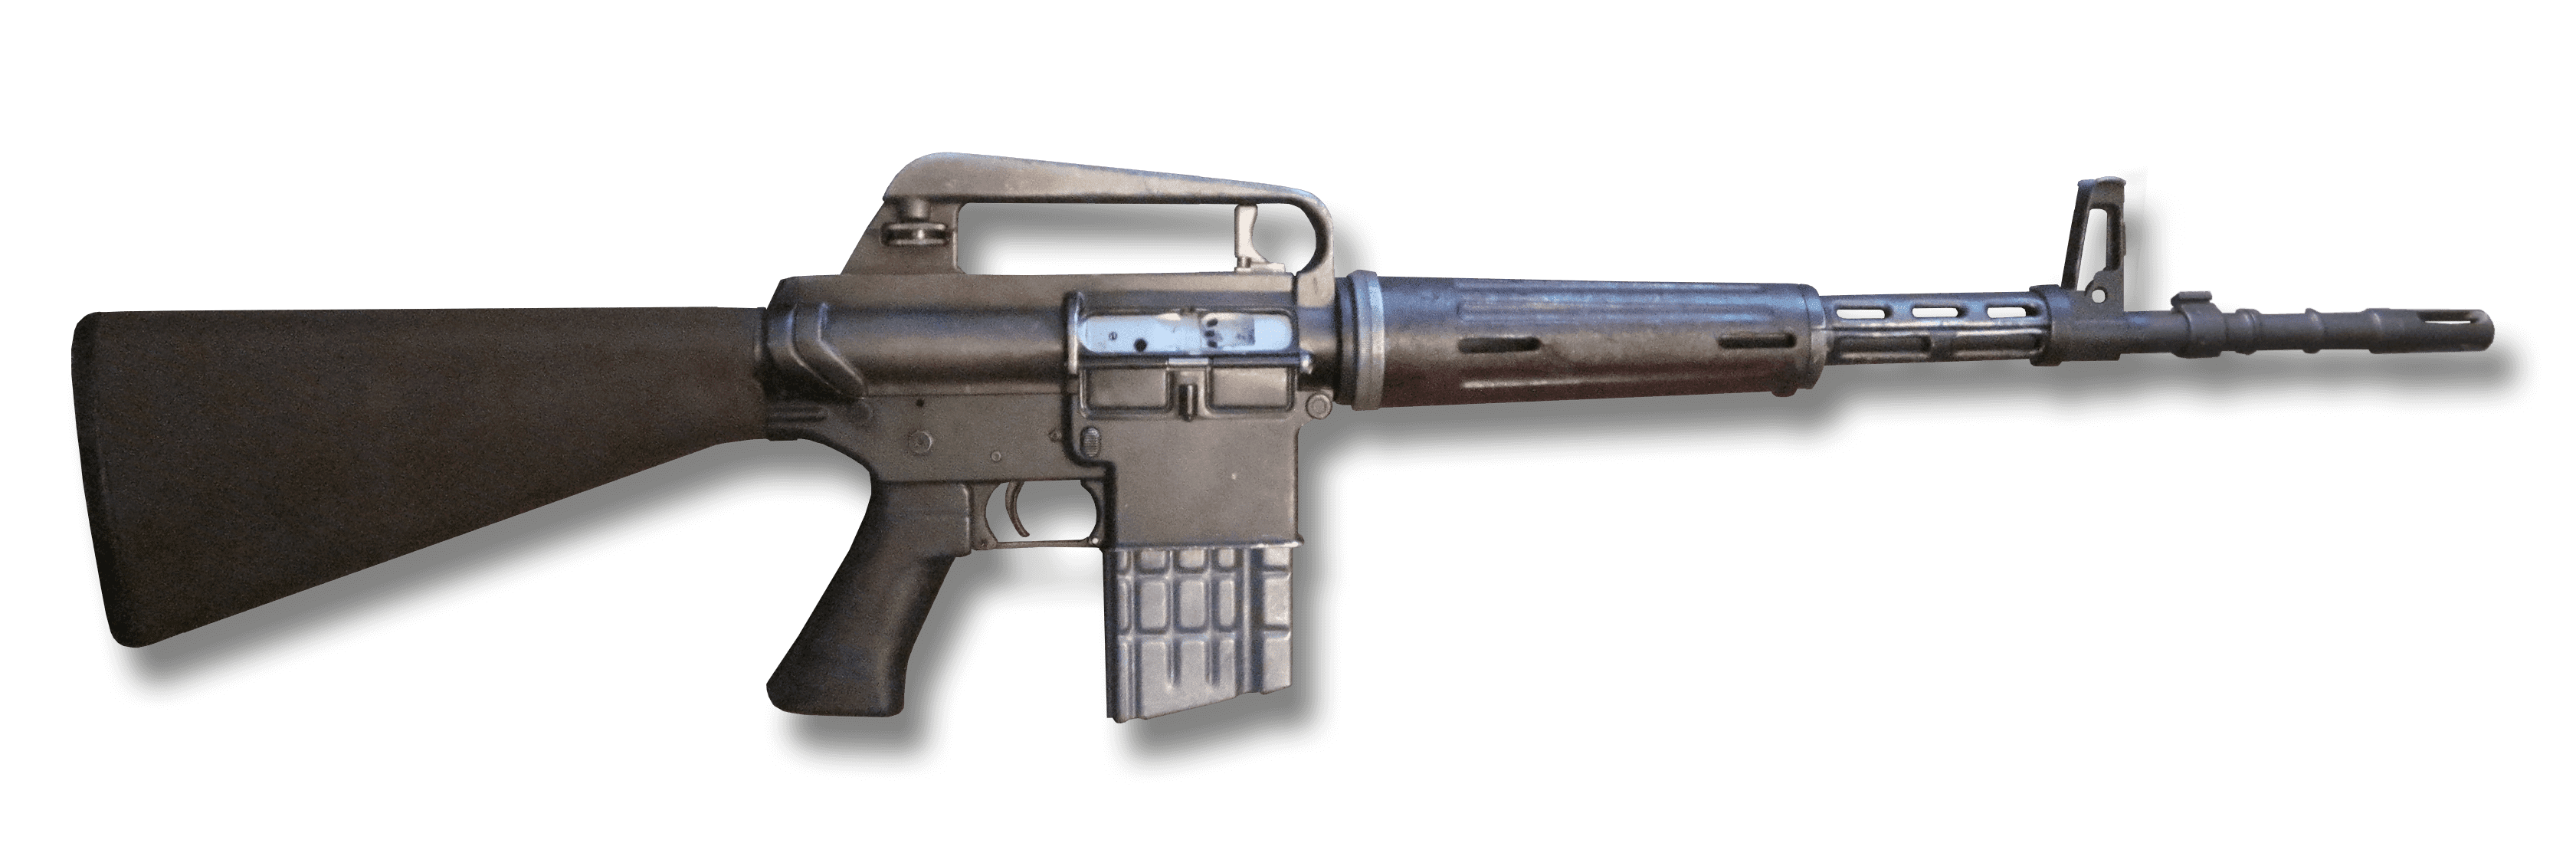
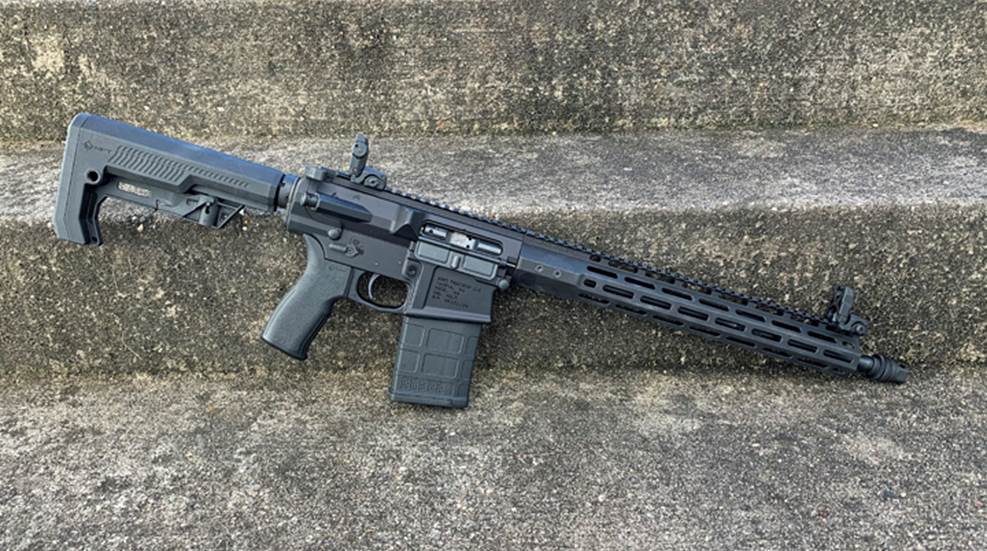
Of course, if you want to clean an AR-10 well, you need to know how to clean it properly. There are a lot of moving parts on these weapons, which means that careful cleaning and thorough lubrication are a must.
In this article, we’ll discuss how often you need to clean your AR-10, what you need to clean it thoroughly, and the step-by-step process to clean it effectively.
Ready?
How Often Do You Need To Clean Your AR-10?
The first thing you need to know as an AR-10 owner is how often the gun needs to be cleaned. There’s a little bit of debate about how often you should clean your weapons, and different gun owners keep a different schedule.
If you shoot your rifle every day, there are some who feel like you should clean it every day (including the military). However, most people don’t use their rifles that often, so establishing a cleaning schedule is important.
Another option is just to clean your AR-10 anytime it’s been shot, but that can leave you vulnerable to dust and debris buildup if your rifle spends a lot of time in storage, or if you take it out without firing it.
If your gun spends a lot of time in storage, you’ll still want to take it out and clean it every few months to help prevent dust buildup and avoid rust and corrosion, especially in humid climates.
See which are the best scopes for AR-10.
Another option is to clean it after you’ve shot so many rounds through the gun. The number here varies between as few as 50 rounds, for target shooters looking for high accuracy and tight groupings, to 500 rounds for shooters who are more hobbyists and not looking for tight groupings.
Deciding your cleaning schedule is important, but it can take some time to get it right. Just remember that you don’t want to leave your gun sitting dirty for very long since that can lead to corrosion and rust which can ruin your firearm and may not be easy to catch if it’s on the inside of the barrel.
What Supplies Do You Need To Clean An AR-10?
Having the right supplies is an important part of keeping your AR-10 clean. You can go out and get a pre-made gun cleaning kit if you want, and most will be perfectly fine for keeping an AR-10 in good condition. Otherwise, you can put together a kit yourself, or customize a pre-built kit to better fit your needs.
Since AR-10s are relatively large and have a lot of moving parts, it’s a good idea to also have a designated workbench or cleaning area to help keep everything organized and avoid wasting time trying to find parts to clean.
You’ll need:
- A bore snake or cleaning rod
- Cleaning solvent
- Cleaning rags or patches
- Lubricant oil
- A bore brush
- A plastic or brass brush (not for the bore)
Some people also use aerosol cleaners for the trigger assembly, but it’s usually not needed unless the trigger is showing signs of wear and tear or is starting to stick.
How To Clean Your AR-10
Cleaning your AR-10 isn’t hard, but it can seem complicated the first few times. Here’s what you’ll do. Before you start cleaning you always need to check to make sure the gun is completely unloaded and safe. Remove the magazine, pull back the bolt, and check to ensure no rounds have been chambered.
Once you know the gun is unloaded you can start.
Step 1: Disassemble The Rifle
The first step is to pop the takedown pin, flip the gun to pull it out, and rotate the stock away from the rest of the gun. There is a pivot pin, so it won’t fully disassemble, instead, it will pivot away.
Next, loosen the bolt and take the bolt carrier out of the gun. Next, remove the charging handle. Set those aside to disassemble later.
Next, take the pivot pin out, which will allow you to separate the upper and lower halves of the gun. You can wipe things down as you disassemble to save some time, or you can do it later as prep for cleaning and lubricating the firearm.
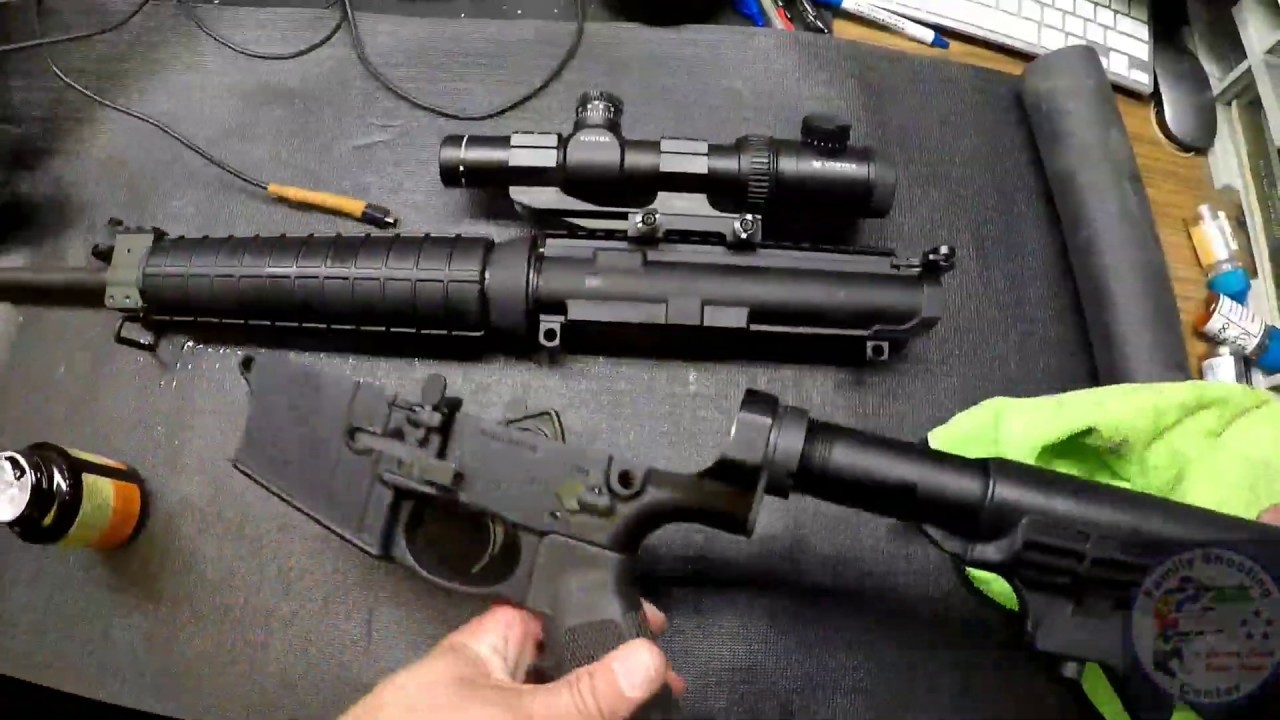
Step 2: Disassemble The Bolt Carrier
Once you’ve disassembled the rest of the gun, you’ll want to disassemble your bolt carrier to fully clean it. You’ll have a small tool to loosen the firing pin holder, push that through and remove the pin. The firing pin should drop out when you turn the bolt carrier.
Next, pivot the bolt itself back in the slot. Once it’s fully back you should be able to remove the bolt pin. Once the bolt is free of the pin, you can remove it from the carrier.
If you want to be especially thorough you can take an Allen wrench to remove the extractor pin and take the extractor out. The extractor pin is spring-loaded, so you’ll need to be slightly careful while you’re doing this.
Many people clean the bolt carrier assembly entirely, and reassemble it, before cleaning the rest of the gun, but that’s an option.
You’ll want to wipe down every part using a soft cloth and gun cleaning solvent to clean this part of the gun. Microfiber cloth is good for removing the carbon and grease, getting everything clean, and then lubricated with oil.
The bolt and firing pin especially need oil, and you can rub it in slightly to help make sure the oil is well-distributed across the mechanism.
If you choose to clean the bolt carrier before the rest of the gun, reassemble and set it aside while you clean the rest, do not reattach.
Step 3: Cleaning Your AR-10
Make sure you wipe down every part of the gun. You might not need to use the solvent on everything, but you should wipe everything down as you work to make sure it’s relatively clean.
Using a bore snake or cleaning rod, along with cleaning rags and cleaning solvent, clean out the bore. You may need to run your snake through the bore several times until it comes back completely clean.
If any part of the upper portion of the gun seems dirty, go ahead and clean it with the solvent as well. For stubborn dirt or debris, a soft plastic brush can give you a little more cleaning power without scratching the gun.
Once everything is clean, make sure it’s also completely dry, and give it a once over with lubricating oil anywhere one-part touches another.
Repeat the same process over the lower part of the gun.
Step 4: Lubricate and Reassemble
If you haven’t already done so, reassemble your bolt carrier by reversing the process used above to disassemble.
Reattach the charging handle inside the upper portion of the AR-10, and then reattach the bolt.
Line up the upper and lower portions of your gun, and snap both pins into place to make sure they are firmly attached.
It’s a good idea to move the bolt back and forth a few times after re-assembly to make sure the oil is fully distributed through the bolt before you use the gun next.
That’s it, that’s the whole process to clean and reassemble your AR-10.
Mike Fellon is an experienced firearms enthusiast and optics expert. He delivers unbiased and detailed rifle scope reviews. Born and raised in Dallas, Texas. He inherited his hunting passions after his father John – he was fascinated by his stories, hearing how much attention, focus, dedication and patience he invested in shooting every animal. When he was old enough, his father first allowed him to shoot some cans and bottles with his shotgun, and then took him hunting – it was love at first sight. Mike has never stopped shooting ever since.